Sunday, March 28, 2010

Awards - Yup more from the Pinewood Derby

I had to post about the award ceremony from the Pinewood Derby that happened this Friday night. My son was all excited to be apart of receiving his very first trophy.

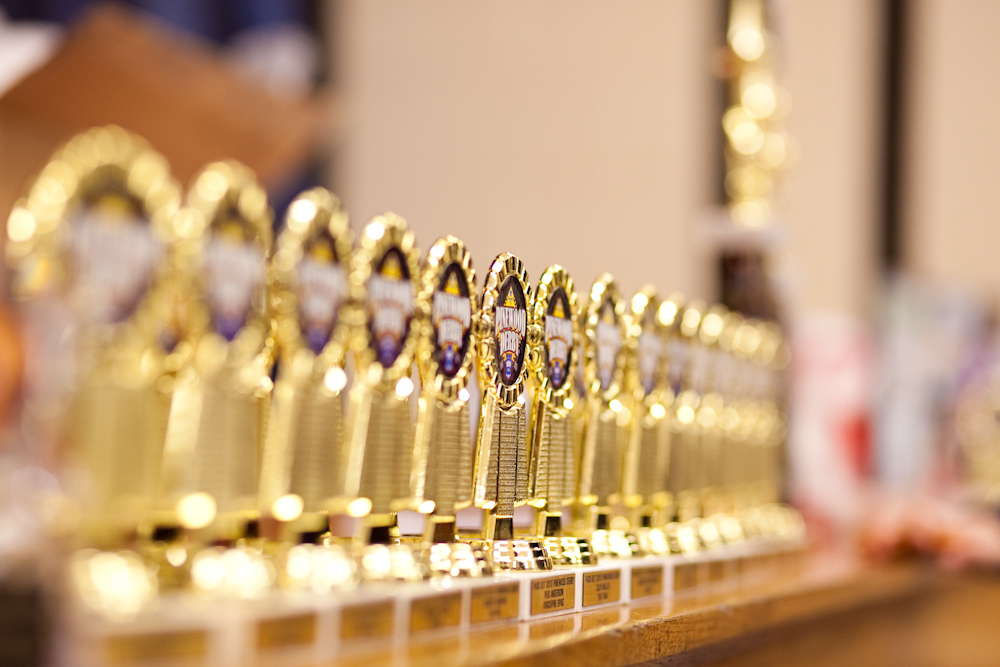
Here they are all lined up and pretty. Each participant received the small gold ones, the star trophies went to the open class and the three talls went to the three overall winners. Zach won a red ribbon for taking 2nd place in his Den, a small trophy for participating and the third smallest for his 3rd place win in the Pack.

IMG_2417

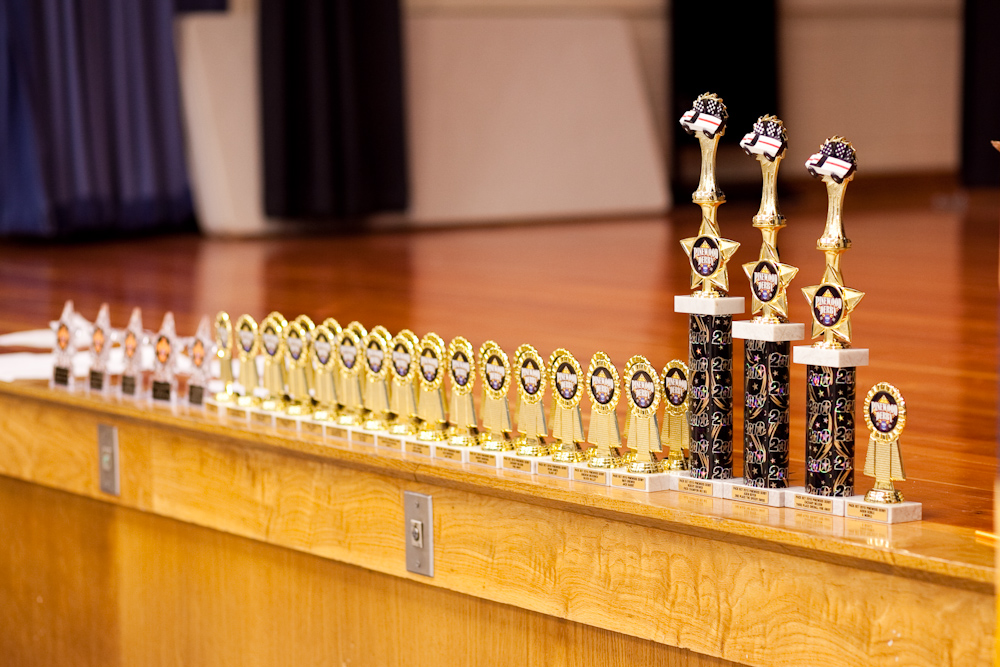
Had some fun playing with the beautiful shiny things all lined up in a row.

IMG_2410

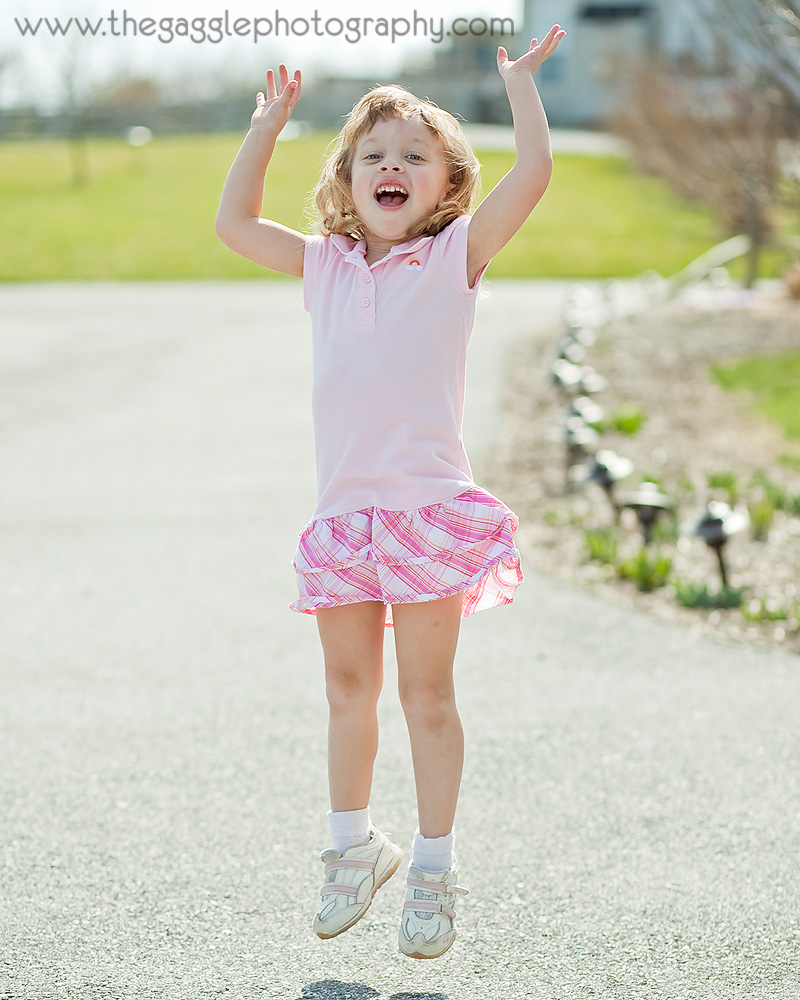
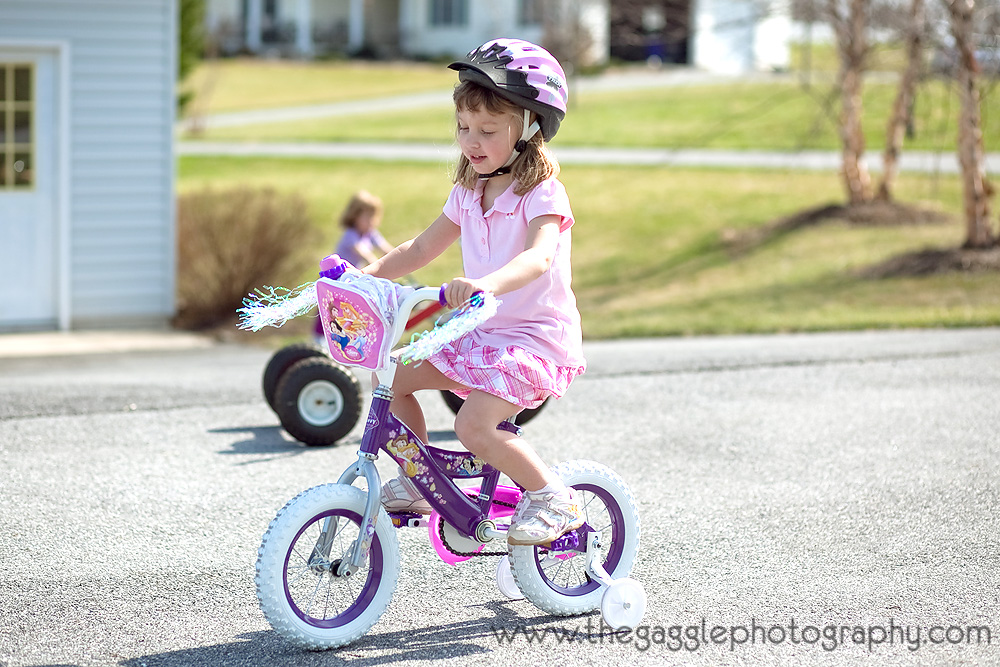
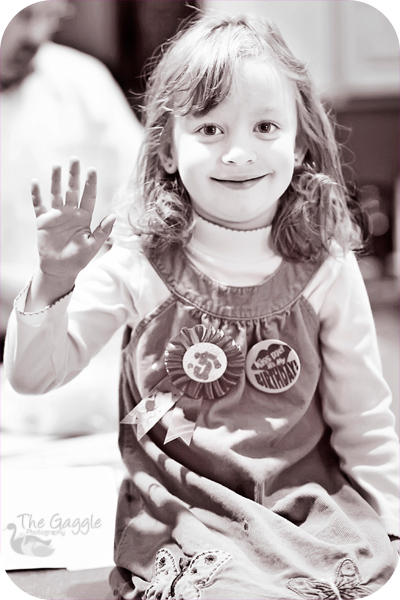
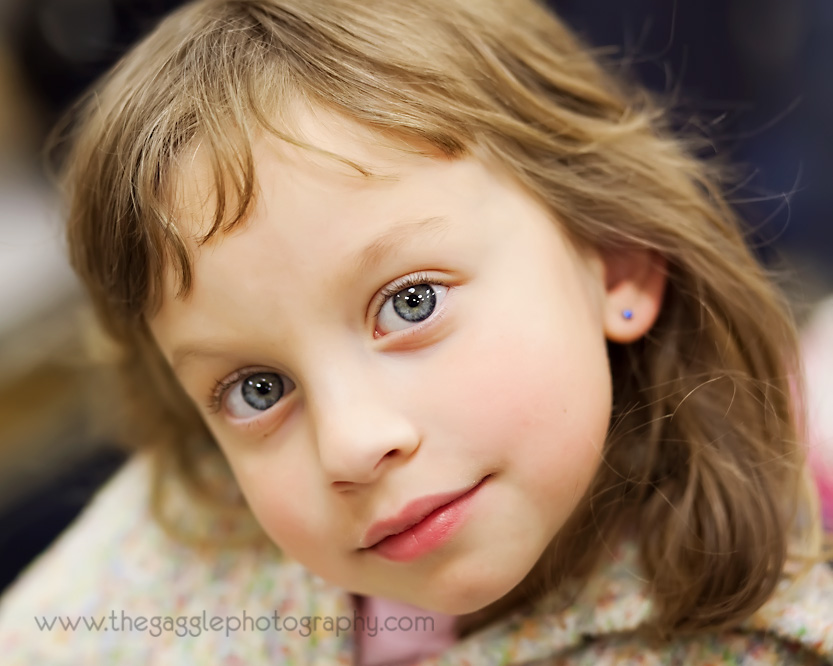
A shot of the princess cheering on her big brother.

IMG_2414 copyWM

And here is the awesome 3rd place trophy. We are so very proud of him and the car he designed and how he was such a good sport about it all.

Big Winner

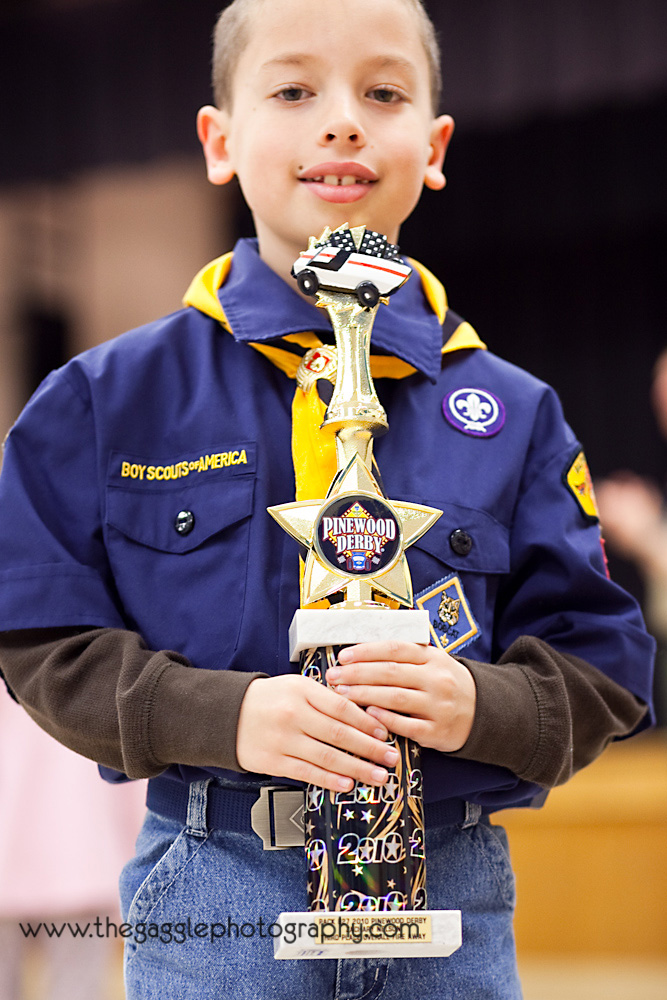
We found a nice spot for it in our dining room but it barely fit. Its really quite tall! He wasn't sure he loved it there because what if next year he does better and wins a taller one? Where would it fit?!?! So we moved it to the kitchen with plenty of room to display a possibly taller one in the future. :)

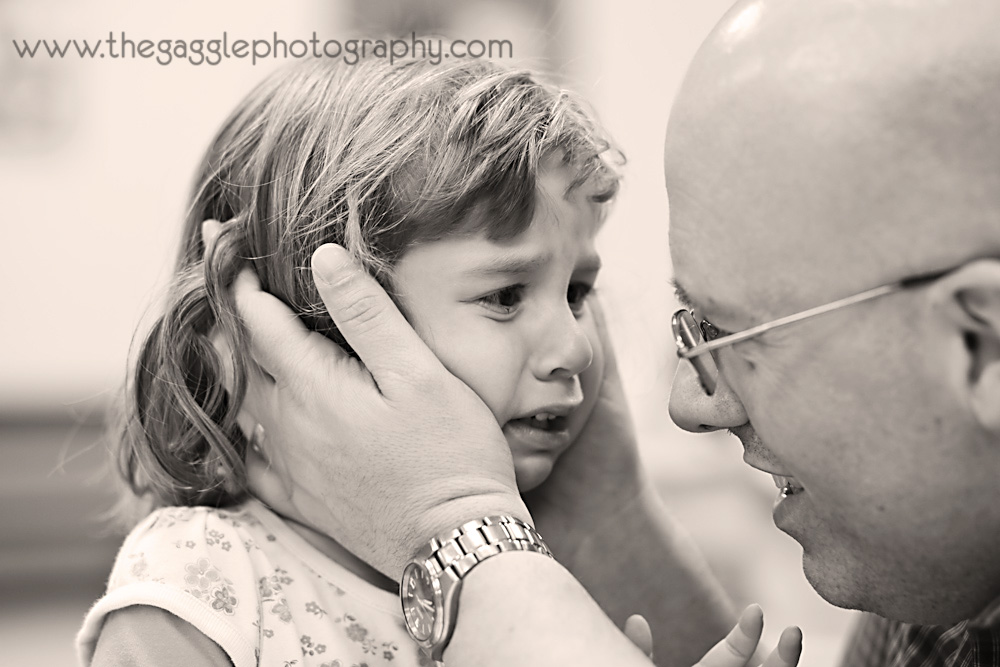
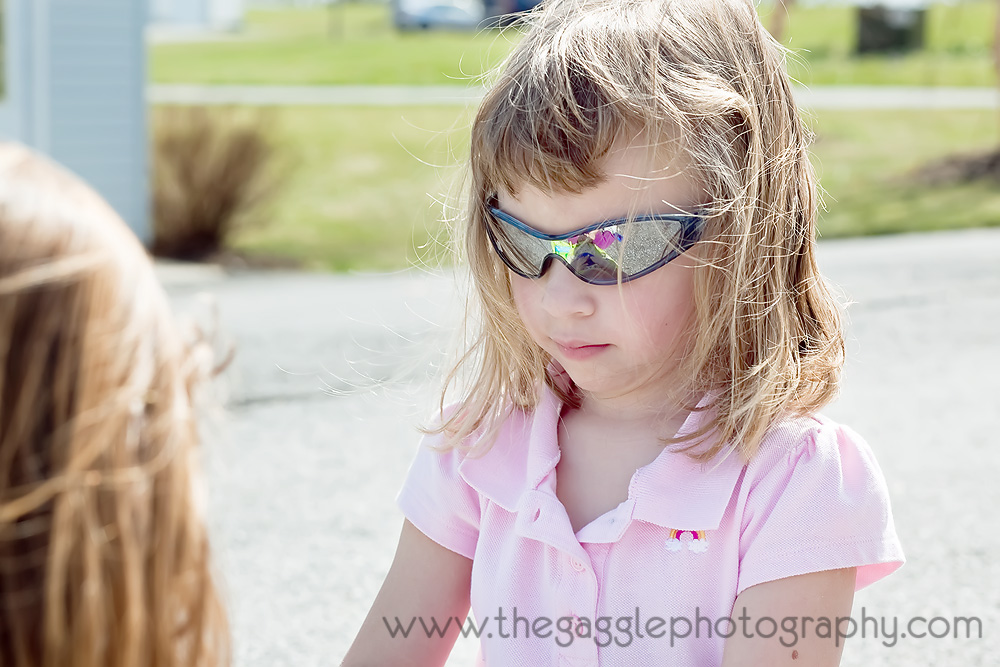
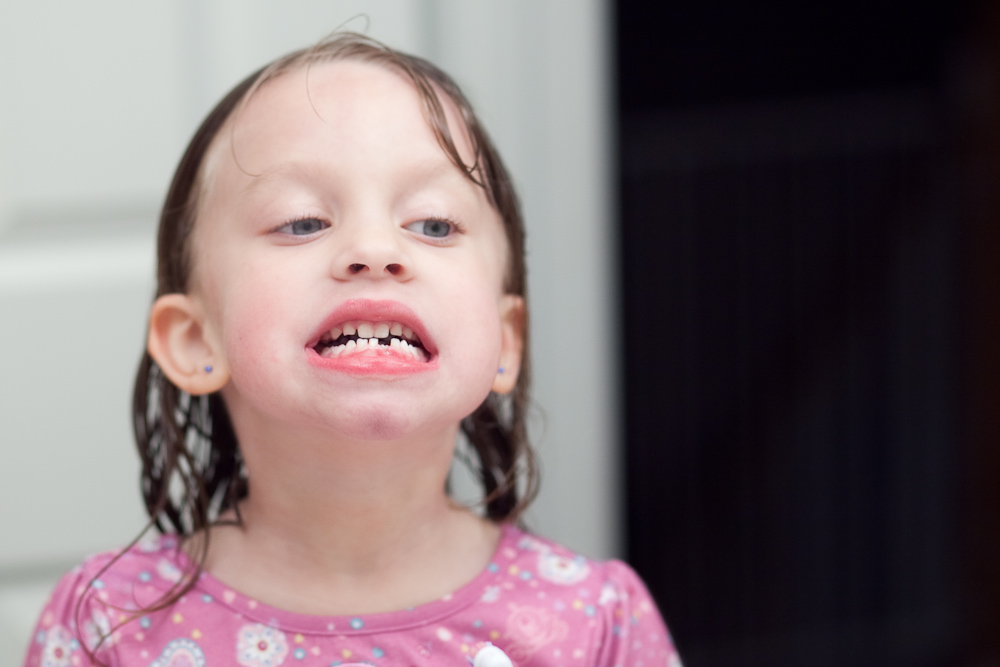
And by the end of the night usually one of our kids sheds some tears. We never know who its going to be but this night, it was Miss V. She was upset that she got her paper airplane snatched from her by one of the boys doing an airplane fight activity. Daddy tried to understand exactly how she wanted us to fix it. Instead of helping, I captured the moment, as a good mommy.

Week 12/52 - Consoling

Saturday, March 20, 2010

A Spring Weekend

This is what we think of the first weekend of Spring after that long, snowy winter.

IMG_2327 copy

Spring

Warm

IMG_2272 copy


IMG_2306 copy


Wednesday, March 17, 2010

Learning to Swim

My 7 year old has been timid of the water for as long as I can remember. This year he is finally breaking out of that shell and taking another round of lessons. Now that the time change has brought us some much needed evening light, I brought my camera to the lesson.

IMG_2191

My son sporting his sister's pink goggles this week after loosing his at the pool last week.

IMG_2196

Kick kick kick.

Swim

And of course the obligatory goofing off and not listening to the teacher. ((sigh))

Tuesday, March 9, 2010

The Tooth Trio

Aren't they cute?


IMG_2056

I got a chance to finish the other two tonight and my son is so happy with his.

IMG_2053

Tooth backsides. :)

IMG_2054

Wednesday, March 3, 2010

I'm 5 and Kiss me its my Birthday.

I'm 5!

My big girl is 5. She is also now registered for Kindergarten. Time sure flies.

Tuesday, March 2, 2010

The Eve of her 5th Birthday, Busy Tooth Fairy & Non-Crafty Mama

My oldest daughter is minutes away from turning 5. That in itself seems unbelievable. Tomorrow she will be a year older and on the eve of this special birthday she looses her first tooth. Its been wiggly for quite some time and it was bound to happen soon. Her big tooth has already made its appearance behind her baby tooth. Having trouble eating the past few days we convinced her that taking the tooth out would make her feel much better. To our surprise she accepted our bribe of a tooth for some M&Ms.

Toothless

As a child my mom gave me a tooth fairy pillow. I loved it. It was super cute and special. Little did I know the value in such a pillow to the Tooth Fairy. For my son we did the under-the-pillow method and the tooth fairy never had trouble getting to his bunk beds. But we were worried that the tooth fairy, even with the map Miss E drew for her, would have trouble finding her tooth. So I set out to buy a tooth fairy pillow. But alas, I couldn't find one that I liked. After a long turmoil I decided to make one myself. I am a terrible artist and don't know how to sew but I thought I would give it a go.

Here is the final product with a happy girl.

IMG_1876

And here is how I made it.

I started with two sheets of felt (per pillow, I plan do do two more for the other kids), some string and a tooth pattern that I found on the internet.

IMG_1851

I cut out the pattern and traced it onto the felt.

IMG_1852

I then cut out both of the felt pieces so that they would be the same shape. I used white for the front and pink for the back.

IMG_1853

Then I used the scrap from the pink (back) to make a pocket on the front and I stitched it onto the front panel.


IMG_1855

Next came stitching around 3/4 of the tooth.

IMG_1857

After searching two craft stores I could not find any pillow stuffing. So this old throw pillow that matched our old house gave the ultimate sacrifice to be re-born as tooth fairy pillows.

IMG_1859

I stuffed the bottom of the tooth first and continued to stitch the rest of the way.

IMG_1860

I added a handle with the scrap from the left over white felt and finished stuffing the tooth. Then I secured the handle as I finished the stitching around the top.

IMG_1861

One final touch was to draw a little face. Cause all good tooth fairy pillows need to be festive.

IMG_1865

Even though it is extremely simple and low-tech, I think she likes it anyway. Maybe I will still add a little flare but I think it came out pretty ok.

Here is the big girl after her bath admiring her new look.

IMG_1873

Tomorrow we celebrate her becoming 5 with tooth fairy excitement, cookies for her pre-school class and a special dinner with ice cream. Oh and a little trip to the Elementary school to register her for Kindergarten.

Happy Birthday Eve to my toothless almost-5-year-old.

About Me

My photo
Welcome to my family blog. I am a mom to three, work FT and love to take pictures. Please visit my website to see more of my work.

Followers

Bloom

The Bloom Forum

  © Free Blogger Templates 'Photoblog II' by Ourblogtemplates.com 2008

Back to TOP